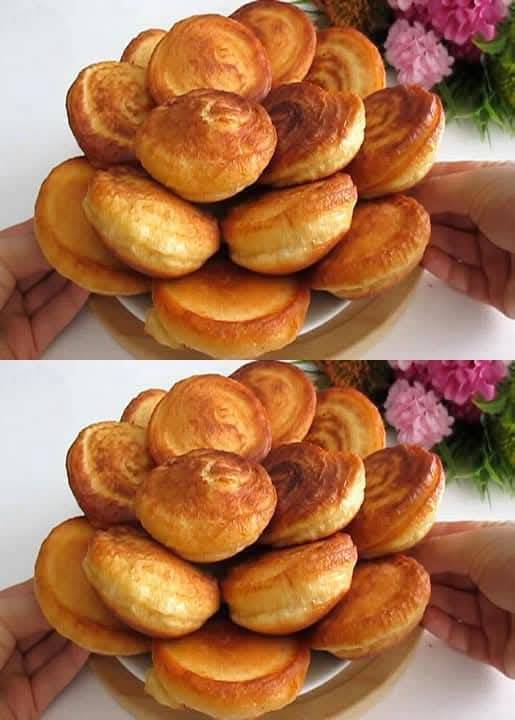
😋 No Flour! Ready in 10 Minutes! So Simple and Delicious That You’ll Want to Make It Every Week 🍮
There’s something magical about a recipe that’s not only delicious but also incredibly easy and quick to prepare. This no-flour, 10-minute dessert is one of those rare finds that you’ll want to make over and over again. With just a few simple ingredients and no need for flour, this treat is also naturally gluten-free—making it perfect for anyone with gluten sensitivities or those who want a lighter dessert option. Whether you’re making it for family, friends, or just yourself, this dessert is sure to impress!
🥥 Why Choose a Flourless Dessert?
1. Gluten-Free: Ideal for those who can’t tolerate gluten or prefer a lighter treat.
2. Quick Preparation: With fewer ingredients, you’ll save time in the kitchen.
3. Soft and Moist Texture: Flourless desserts tend to have a melt-in-your-mouth quality.
4. Simplicity: Minimal ingredients mean less fuss and more flavor.
Flourless desserts often rely on ingredients like eggs, coconut, or chocolate to provide structure, resulting in a soft, rich, and irresistibly moist texture. Plus, without flour, you don’t have to worry about overmixing and ending up with a dense or tough result.
⭐ Key Ingredients You’ll Need
- 2 cups of shredded coconut (unsweetened for a lighter version)
- 1 cup of condensed milk (adds creaminess and sweetness)
- 2 large eggs (acts as a binder)
- 1 teaspoon vanilla extract (for a warm, rich flavor)
- A pinch of salt (enhances the flavors)
- Optional: Melted dark or milk chocolate for drizzling or dipping
These pantry-friendly ingredients come together effortlessly to create a dessert that’s chewy on the inside with a slight crisp on the outside. The condensed milk provides sweetness, while the coconut gives it a delightful chew and texture.
⏱️ Step-by-Step Recipe: Ready in Just 10 Minutes!
1. Preheat and Prepare:
- Preheat your oven to 350°F (175°C).
- Line a baking sheet with parchment paper or a silicone mat to prevent sticking.
2. Mix the Ingredients:
- In a large bowl, combine the shredded coconut, condensed milk, eggs, vanilla extract, and a pinch of salt.
- Stir until well combined and all the coconut is evenly coated. The mixture will be sticky but should hold together.
3. Shape the Mixture:
- Use a spoon or a cookie scoop to form small mounds or balls of the mixture.
- Place them on the prepared baking sheet, leaving about an inch of space between each.
- For a fancier presentation, you can press the mixture into mini muffin tins for perfectly round shapes.
4. Bake:
- Bake for 10–12 minutes or until the edges are golden brown and the tops are set.
- Keep a close eye on them since coconut can brown quickly.
5. Optional Chocolate Finish:
- Melt chocolate in a microwave-safe bowl in 30-second intervals, stirring between each.
- Drizzle the melted chocolate over the warm coconut treats or dip the bottoms for an extra indulgence.
- Let the chocolate set before serving.
🌟 Creative Variations to Try
- Chocolate Chip Coconut Bites: Mix in mini chocolate chips before baking.
- Lemon Coconut Delight: Add a teaspoon of lemon zest and a squeeze of juice for a zesty twist.
- Nutty Crunch: Incorporate chopped almonds, pecans, or hazelnuts for extra crunch.
- Espresso Kick: A teaspoon of espresso powder mixed into the batter for coffee lovers.
- Berry Bliss: Press a raspberry or blueberry into the center of each mound before baking.
💡 Expert Tips for Perfect Results
- Don’t Overbake: Coconut can burn quickly, so keep an eye on the edges.
- Use Parchment Paper: It prevents sticking and makes cleanup a breeze.
- Consistency: If the mixture seems too loose, add a bit more coconut; if too thick, a splash of condensed milk.
- Storage: Keep these treats in an airtight container at room temperature for up to 3 days or in the fridge for a week.